Illustration and Visual Narrative - Project 2

1/10/18 - 5/11/18 (Week 6 to Week 11)
Jasmine Teoh Lee Suan (0331993)
Illustration and Visual Narrative
Project 2: Graphic Novel
INSTRUCTIONS:
Assignment Brief
Transition exercise:
We were given a comic panel to read and choose the different transitions that could be found in a comic and labelled them into each category. The transitions are:
- Moment to moment
- Action to action
- Subject to subject
- Scene to scene
- Aspect to aspect
 |
| Figure 1.1 Transition Exercise Comic |
Here's my exercise completed in PDF form:
I also chose my story on Poe Stories by Edgar Allen Poe as he had very visual narratives in his stories, which was easier for us to draw out. I chose "The Spectacles", a short comedy about love at first sight in the olden days. You can read the story here: https://poestories.com/read/spectacles
Week 7 (8/10/18)
While simultaneously working on the chiaroscuro exercise, I started working on translating the story into visual ideas through sketches and drafts. I focused on 5 main parts of the story, the beginning, build, conflict, climax and conclusion. I created a rough storyboard with thumbnail sketches, and summarized my story while highlighting the main points of it.
 |
| Figure 2.1 Storyboard Draft and Sketches |
 |
| Figure 2.2 Summary on the story I chose |
 |
| Figure 2.3 Chiaroscuro Exercise 1 |
 |
| Figure 2.4 Chiaroscuro Exercise 2 |
 |
| Figure 2.5 Chiaroscuro Exercise 3 |
Week 8 (15/10/18)
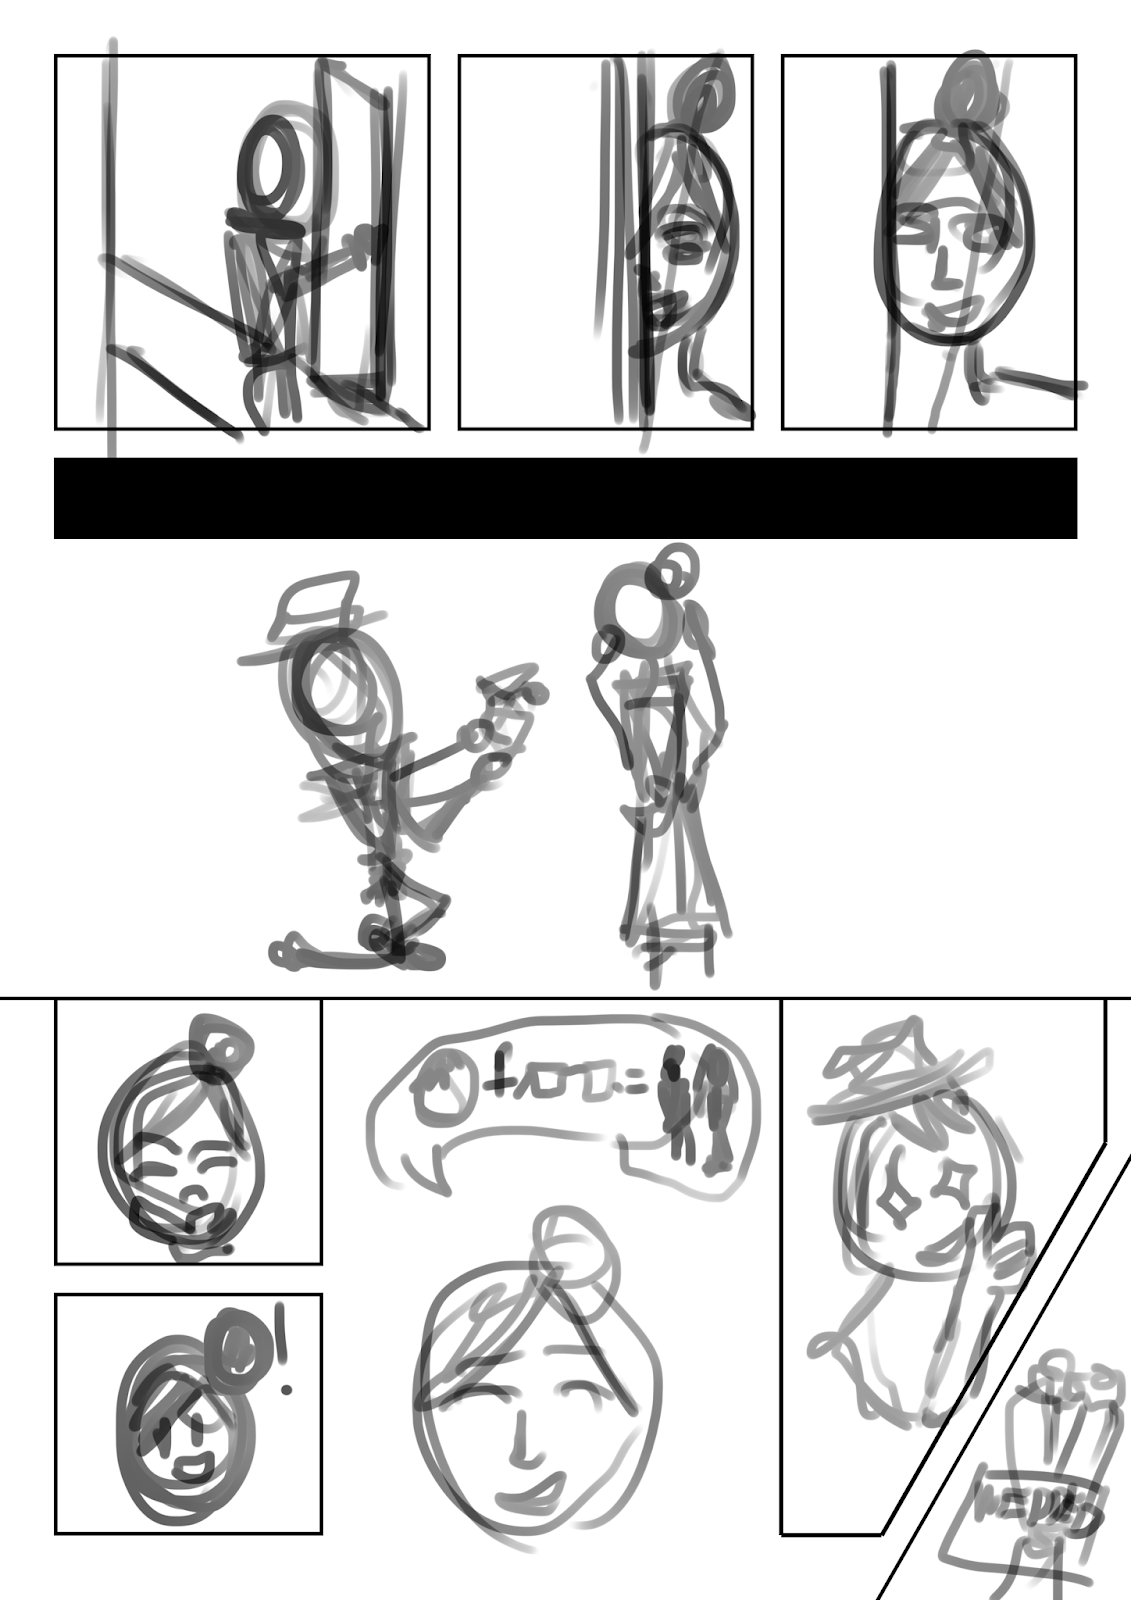
For this week, after getting consultation from my lecturers about the storyline and story planning, I decided to make my sketches more detailed while thinking about the type of transitions that I'm supposed to include. I explored on different angles and perspectives in each panel too, and even positioned the panels like a real comic. Of course my sketches were all very rough.
 |
| Page 1 Rough Sketch on Sketchbook |
 |
| Page 2 Rough Sketch on Sketchbook |
 |
| Page 3 Rough Sketch on Sketchbook |
 |
| Page 4 Rough Sketch on Sketchbook |
After that, I transferred the sketch ideas to Adobe Illustrator and created sketches on there as well to help me with my artwork process. I developed the storyline a little more detailed during this point and drew the sketch of the whole summary of the story.
 |
| Page 1 Sketch on Illustrator |
 |
| Page 2 Sketch on Illustrator |
 |
| Page 3 Sketch on Illustrator |
 |
| Page 4 Sketch on Illustrator |
 |
| Page 5 Sketch on Illustrator |
 |
| Page 6 Sketch on Illustrator |
Week 9 (22/10/18)
I did research and reference on art styles for my comic strip this week. I was honestly stuck in a bind at first as I didn't know which art style to go with as I tried 3 different art styles, and wasted my time pondering about it and making changes here and there. At last, I decided to go with the second style shown beow, which gave off a light watercolour effect to my olden day setting.
 |
| Art Styles |
I also decided on a main colour palette that would fit the atmosphere of my story and went for more vintage colours that don't stand out too brightly.
 |
| Colour Palette |
 |
| Storyboard Compilation |
I had a place to keep my references and draw on it, and also to refer to it easier while working as well. It helped me to stay on track while working on my final piece.
 |
| References |
Week 10 (29/10/18)
I worked on the graphics of my comic strip this whole week and created the whole comic strip with 13 panels and all in one page. I also drew and coloured everything in one layer each, which was a risky and not efficient way to work. This was my final work before feedback was given.
 |
| Final Artwork before Feedback |
I showed my work to Mr Hafiz for feedback and he said that the first
few panels were unnecessary and that my transitions and compositions
were all there already, and to use non-destructive ways of creating the
graphics, like treating every panel as an artwork and saving it into
different files. He gave us extra time for our work, so I decided to
work on it more.
Week 11 (5/11/18)
Mr Kannan said that I could use a better art style, so I asked him for advice on how to achieve a certain art style that I wanted and he showed it to me on my laptop. Later on, I learned from his steps and created my own at style that was similar to the one shown but not entirely similar, and started fixing my comic strip with that art style.
I decided to take away the first three panels and start off with the fourth panel as well, as time was limited (or I would have done the whole story that I planned before already by now). I also decided to turn the presentation into a scroll down strip comic, something like webtoon presentation.
And this time, I saved all my panels individually so that I could work on them and edit them easier whenever I wanted to without disturbing or worrying about the other panels.
 |
| Compilation of Panels |
 |
| Compilation of Pages in one strip |
In the layers section, it shows that the layers are all smart objects, so whenever I double click on the layer thumbnail, it would open up the file containing the contents of that layer and I can edit from there. After saving that file, the changes would appear in the big compiled file as well.
 |
| Page One Compilation of Panel Layers |
I saved everything in different layers as well, so that it would be easier to edit the different objects found in each panel. And I could export my assets to other software if I wanted to animate the panels, for example.
 |
| Page One Panel 3 |
 |
| Page One Panel Two |
 |
| Page Two Compilation of Panel Layers |
I made sure that my blur effect used was on a smart object so that I could change the Gaussian blur filter and edit it any time and any way I wanted.
 |
| Page Two Panel Two Blur |
 |
| Page Two Panel Two No Blur |
 |
| Page Three Compilation of Panel Layers |
The screenshots below show that I separate each object into different groups and layers so that it's easier to move and make edits to each and every object.
 |
| All Layers |
 |
| Without Right Hand Layer |
 |
| Without Left Hand Layer |
 |
| Without Background Layer |
 |
| Page Four Compilation of Panel Layers |
Here's my final outcome and artwork in pages:
 |
| Page One |
 |
| Page Two |
 |
| Page 3 |
 |
| Page Four |
The compiled pages into one strip:

And my comic strip in PDF form so that it's easier to be read while scrolling down:
I even created a short GIF for the sequence of some of my panels.
 |
| GIF for Page 2 & 3 |
Transitions in my comic:
| Transitions |
I referred to some websites on how to make a webcomic, these are the lists of websites that I read and referred to:
Reference Webpages:
Drawing perspective vector art in AI
https://www.youtube.com/watch?v=niKUMz0wpUQ
Pastel painted landscape in PS
https://design.tutsplus.com/tutorials/how-to-create-a-pastel-painted-landscape-in-adobe-photoshop--cms-23477
Colouring Line Art
http://www.melissaevans.com/tutorials/colouring-line-art
Creating Comic Book Panels in Adobe Photoshop
https://www.youtube.com/watch?v=T7CNfo5ytbQ
How to introduce characters: 6 ways to be memorable
https://www.nownovel.com/blog/how-to-introduce-characters/

Comments
Post a Comment